If you’re just after the pickle recipe, scroll on down…
We are crazy about pickles, and every summer I can quarts of fresh-pack cucumber dill pickles. The fun of fresh-pack pickles, is that there’s no waiting around while they brine and no worrying about weird bacteria cropping up during the brining process. You chop up your ingredients, boil the brine, and can the goods all in one exhausting evening.
Last week, though, I tried something new.
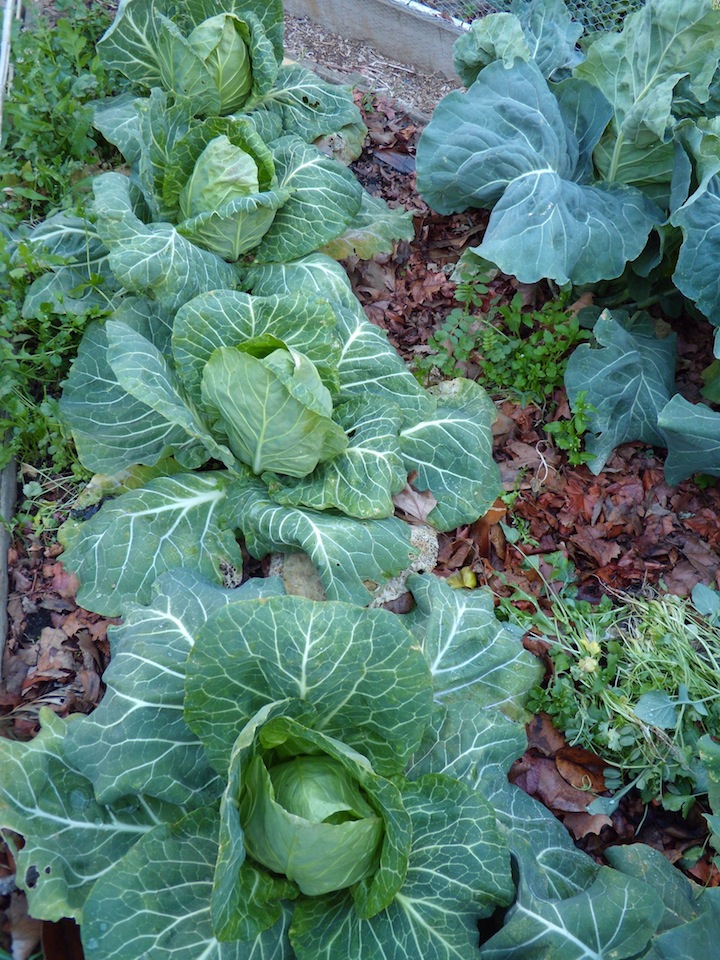
It started with scads of cauliflower in the garden. Then Kelly and I made a trip to a magical place called Mountain Feed and Farm Supply, in Ben Lomond. It left my head spinning with all its nifty gadgets, and I brought home my very own ‘Perfect Pickler’ and wild ideas about probiotic cauliflower pickles.
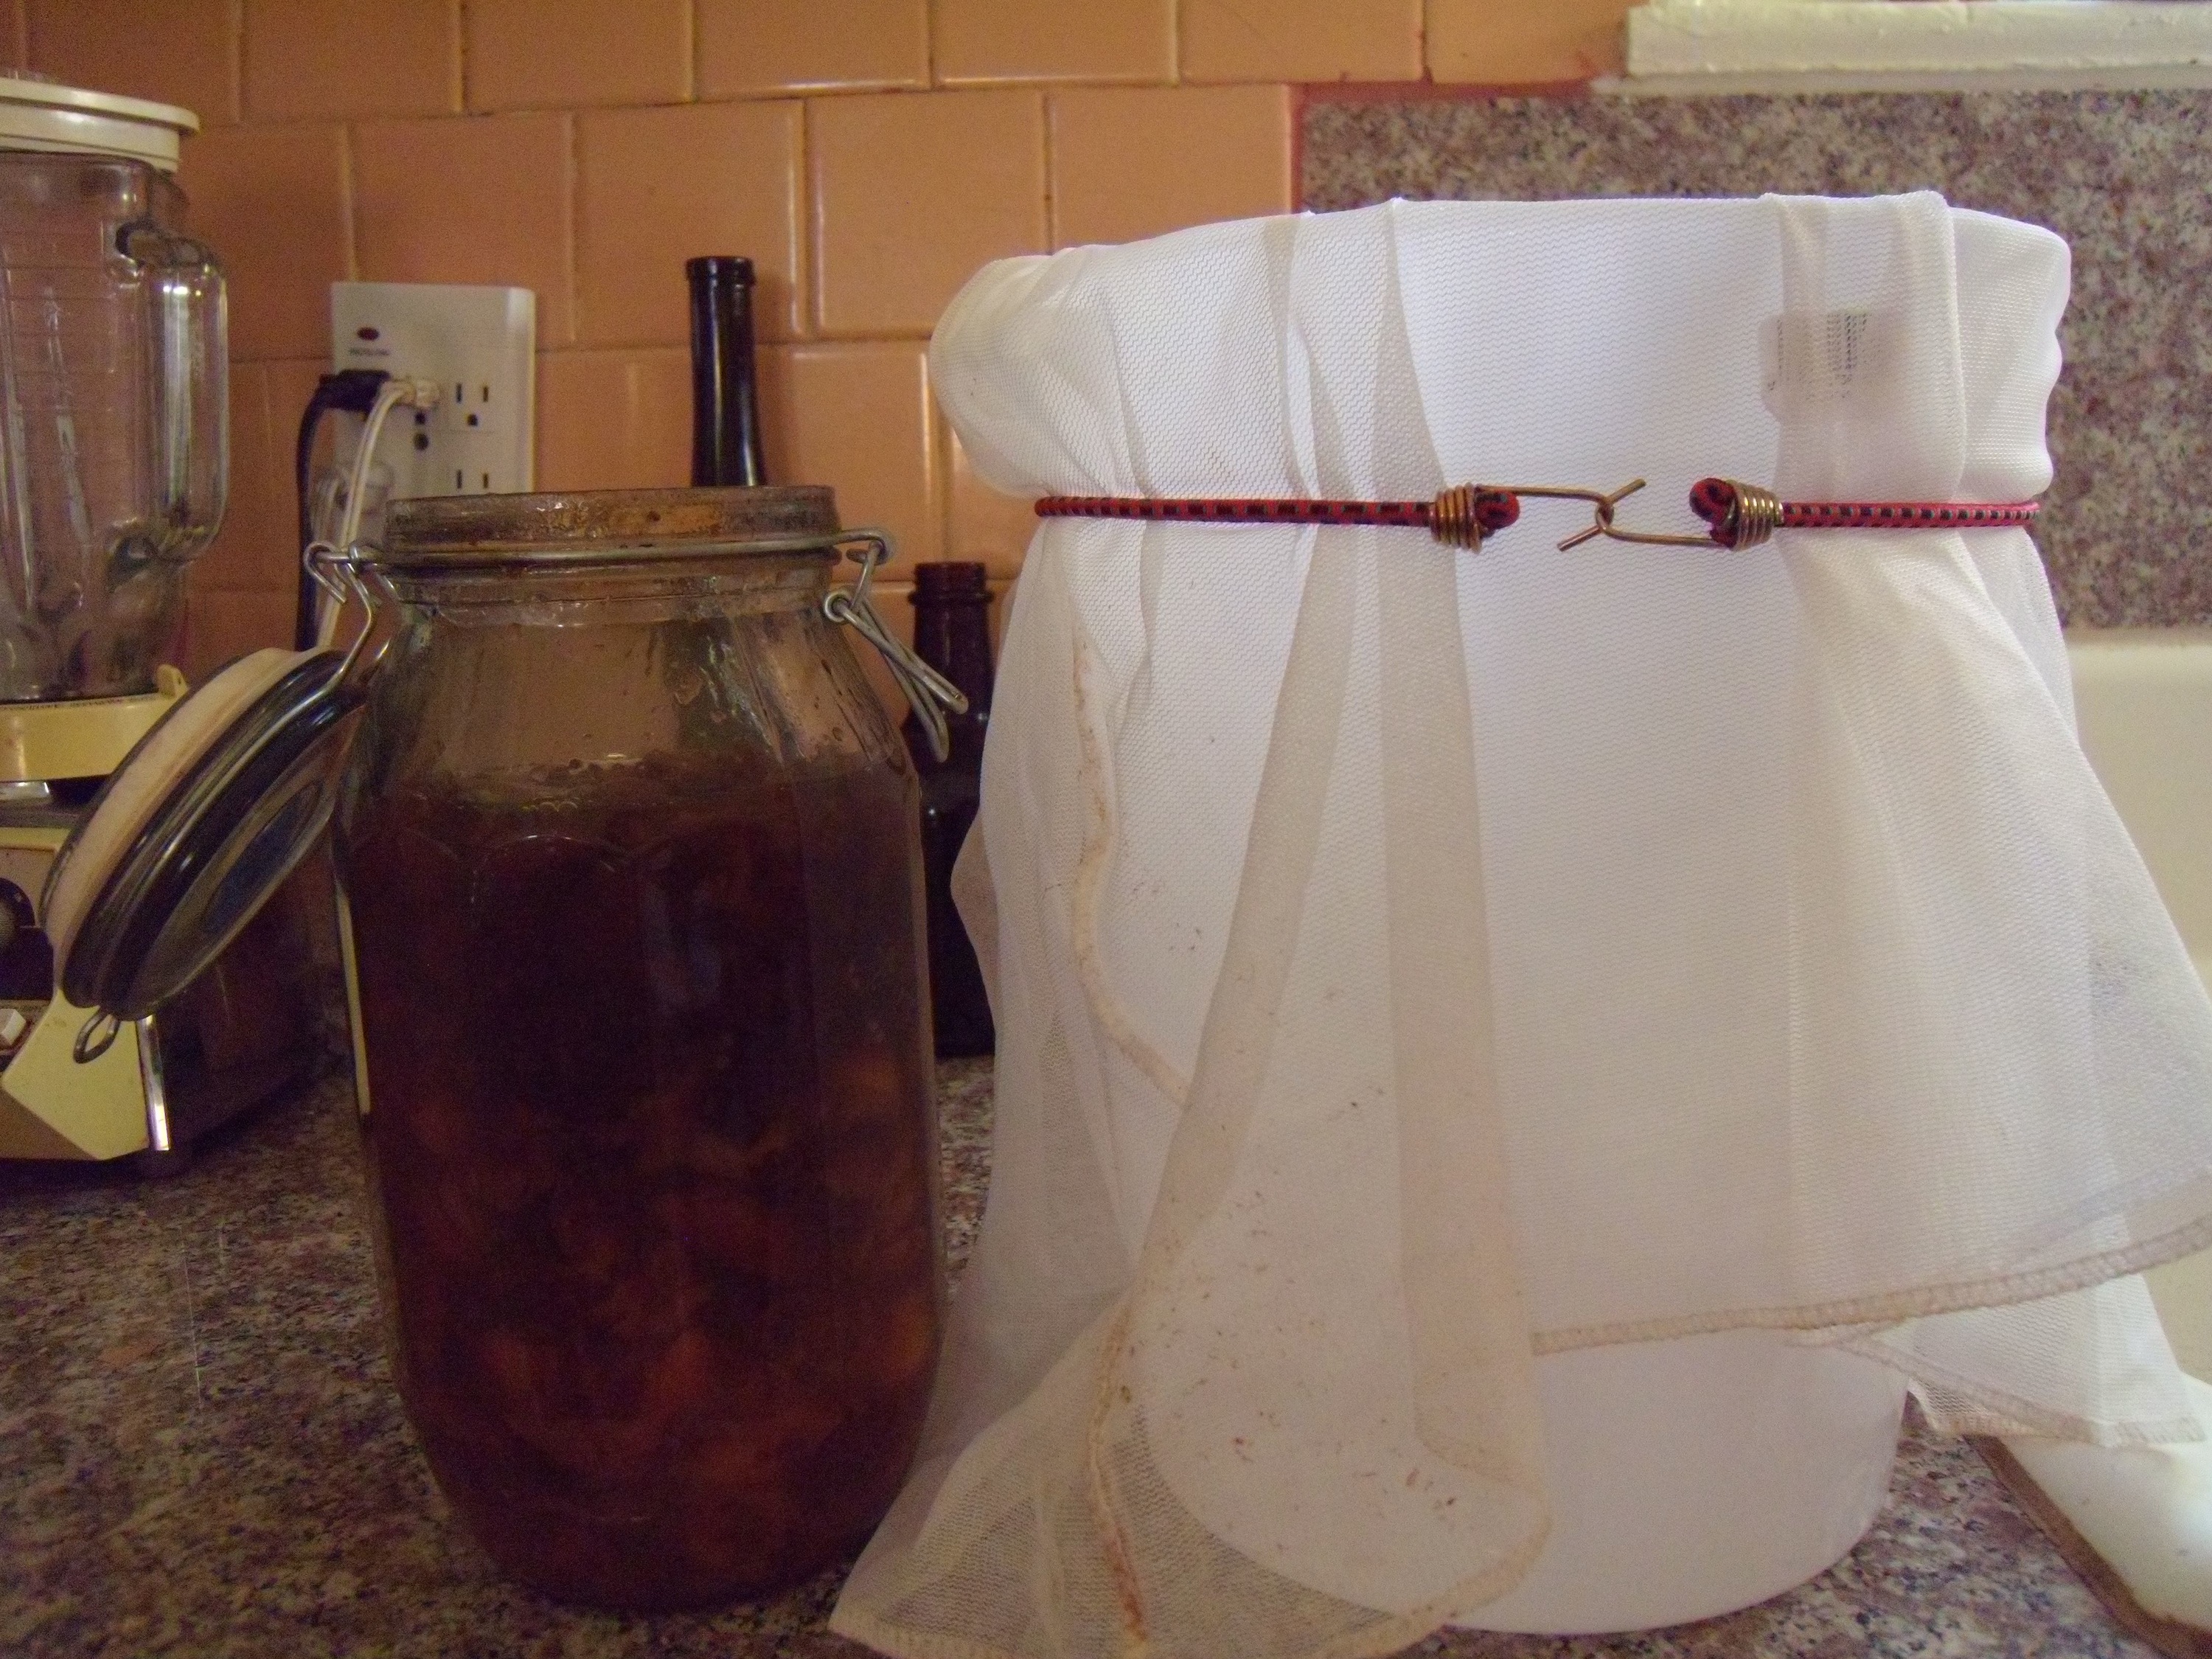
Lacto fermenting pickles is different from fresh packing, but as it turns out, it’s not really harder to do, and it yields much greater benefits nutritionally. The Perfect Pickler’s trick is the airlock that fits into the lid of the jar; while your vegetables froth away, growing what are apparently millions of good bacteria as they lacto ferment (i.e. pickle), no outside air or ‘bad’ bacteria can get into the jar to taint your recipe.
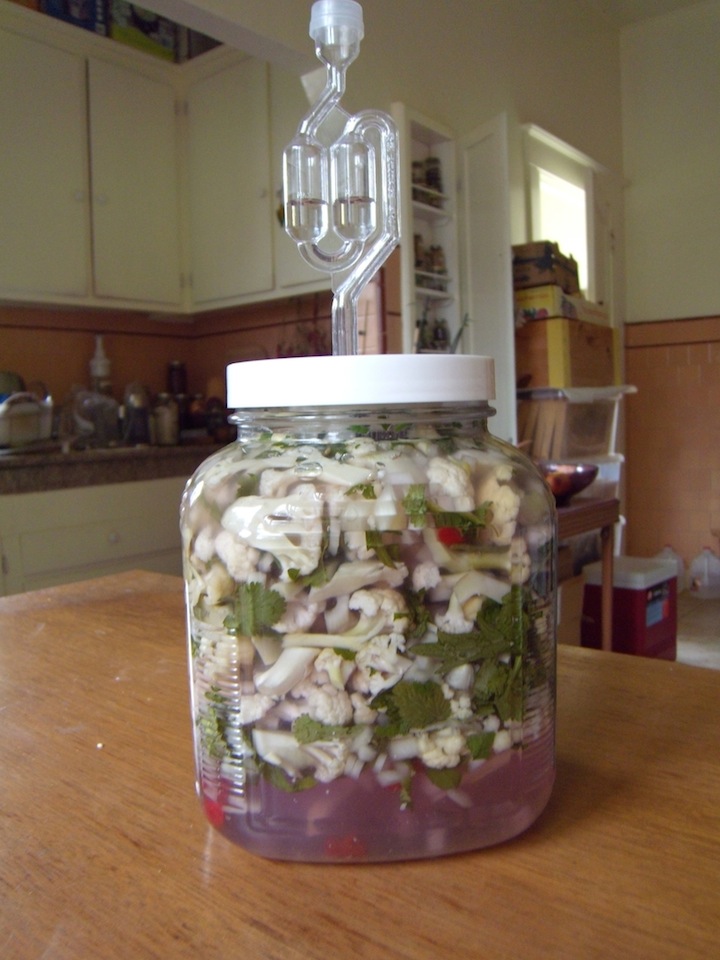
Cauliflower pickles in process.
The big logistical downside to lacto-fermented pickles is that they can’t be canned. The canning process would kill all of those wonderful probiotic bacteria, and render your pickles lifeless. Therefore, you’re stuck with them in the fridge. Being a big batch girl, myself, this is a definite bummer.
In terms of equipment, I’m still a little hazy on how much help the airlock is, given that the lacto fermented pickle recipes I’ve read thus far suggest opening the jar periodically to taste the pickles. Doesn’t this (along with all the air/bad bacteria in there to start with) negate the protective effects of the airlock?
If the airlock is indeed optional, one could just as easily pickle in a simple canning jar and lid and save the cost of the pickler getup. My fabulous gardening friend Tanya makes the best sour kraut I’ve ever tasted with just a regular canning jar.
The recipe I (very loosely) used directed me to let my cauliflower and brine sit in the jar for four days before adding apple cider vinegar and retiring the whole kit and caboodle to the refrigerator.
On day four, I dutifully opened the jar and tasted the pickled cauliflower. Delicious! But so lightly flavored, that I doubted it had really done its thing yet. After all, our house is consistently five to ten degrees colder than the ambient temperature assumed by the recipe (it suggested a household that does not drop below 70 degrees Fahrenheit).
I conferred with my better half, and we decided to let the pickles continue their science experiment for another day on the kitchen counter. I now think I should have checked the pickles again that evening, or at least by the following morning. Instead, I waited a good 30 hours. By this point, the fermentation had kicked into high gear, and the ‘Snow Crown’ cauliflower florets bobbed in a mysteriously purple bath of frothy brine.
I’m not sure how to describe the smell and taste, beyond ‘gassy.’ Kelly declared it still good, while I felt vaguely nauseous for the next half hour. It’s really not bad, I guess. For a first try. Maybe. There’s a gallon of it waiting for me in the fridge.
Kelly insists that the taste I found so off-putting is the result of a rather vigorous (but healthy!) fermentation/pickling. Maybe it will mellow with the addition of cider vinegar that the recipe called for? If not, there’s more cauliflower in the garden, as well as some monster cabbages on the way.
Ancestral pickles
By cookie-craving chance yesterday, I dug up a cookbook written in the 1970s by my grandmother’s younger sister Clara B. Clauson. And lo, tucked away in a chapter I’d never bothered to read, I found my great grandfather’s sour kraut recipe, and my great-great grandmother’s pickled green tomatoes recipe. Both call for crocks, with no mention of airlocks or looming threat of bad bacteria. People used to just deal, I guess.
While admittedly vague in spots (a ‘handful’ of salt for each head of cabbage), I’m excited to give these family recipes a spin as soon as I can get my hands on cabbages and green tomatoes.
In the tradition of my ancestors, here’s the approximate recipe for my pickled cauliflower (and really, it would have been undeniably delicious if I’d just stopped a day sooner!):
Cauliflower pickle ingredients (to be fudged and adjusted at your discretion!)
- 1 large head cauliflower, cut into small florets
- 1 bunch of cilantro, chopped finely
- 1 bunch of parsley, chopped finely
- 1 dried red pepper (sweet and spicy)
- 1 yellow onion, chopped small
- 4 cloves garlic, chopped finely
- 1 bunch mustard greens, chopped finely
Brine
Enough brine to cover the vegetables at a ratio of 2 cups water to 2 tablespoons sea salt
Additional ingredients
- ¼ cup cider vinegar (to be added after the main fermentation)
Directions:
Pack the vegetables in a gallon jar, cover with brine, and screw on the lid. Especially if you’re trying a canning lid, don’t screw it on tight. If you do, the jar may explode. My Perfect Pickler also came with a small ceramic cup that is supposed to float just below the screw-on lid. Again, I’m not yet sure how critical its function actually is.
Leave the jar on your counter out of direct light and away from any heat sources for exactly four days. As long as your house is below 74 degrees Fahrenheit, this should be fine (higher temperatures can cause mold to form).
If the pickles don’t seem pickle-y enough, let them sit out longer on the counter, but proceed with extreme caution and frequent taste tests.
When you judge the pickles to be done, add the cider vinegar and transfer pickles to the fridge. They should last for months, though they will continue to ferment slowly in the refrigerator.